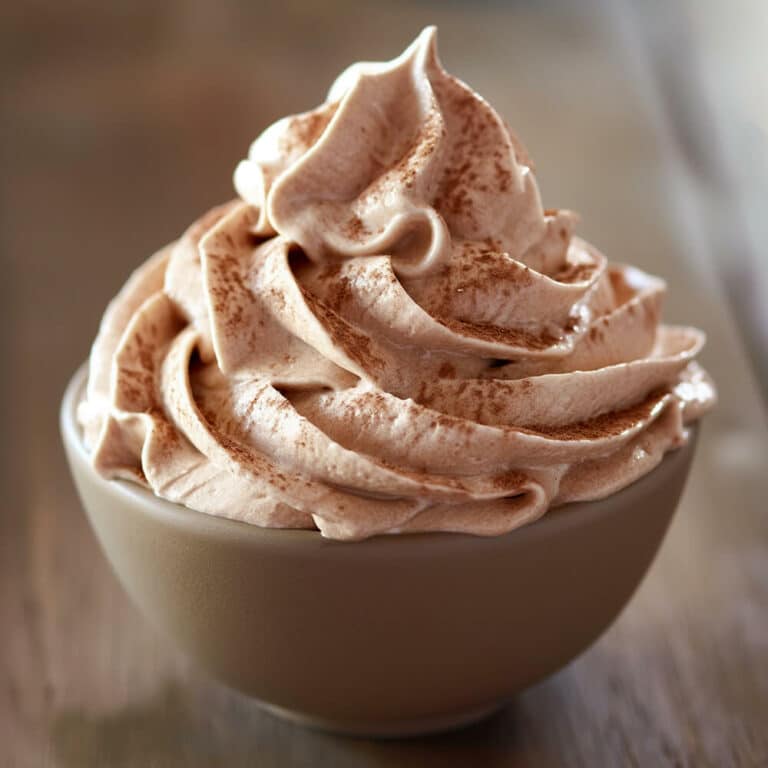
DIY: Making Homemade Whipped Cream with Cream Chargers
Whipped cream is one of the most effective ways to make your beverages and desserts look significantly better. Just think about it.
Let’s imagine you were given two cups of coffee – one was the most basic cup of coffee you can think of, while the other was decorated with whipped cream, cookie crumbles and more. More than likely, you will reach for the second one simply because it’s more aesthetically pleasing – humans are visual creatures, and we’re more drawn to things that look good.
If you have a whipped cream dispenser at home, then you can easily make whipped cream at home. How? We’ll explain below.
Table of Contents
How to Make Whipped Cream at Home Using a Dispenser
Here is what you will need to make delicious whipped cream at home:
Ingredients:
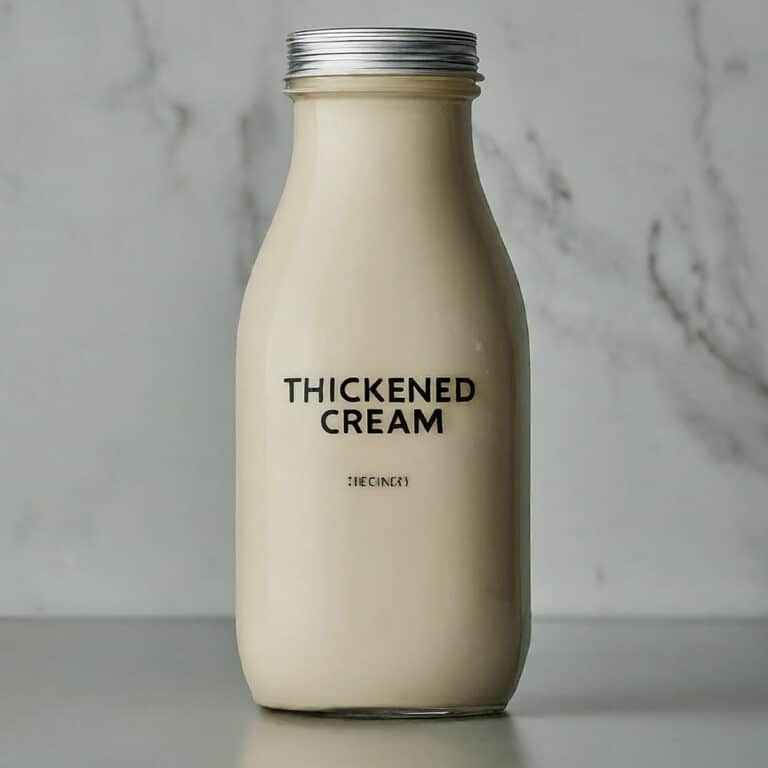
Heavy Cream (1 pint): For the best whipped consistency, use heavy cream with at least 32% fat. A higher fat content creates a smoother, more stable texture. In some regions, it may be labeled as full cream or thickened cream. Also, avoid low-fat alternatives, as they won’t hold their shape as well.
Powdered Sugar (2 tablespoons, adjustable): This finely ground sugar (you might know it as confectioners’ sugar) blends easily into the cream without making it grainy. It also helps the whipped cream hold its texture for longer. If you prefer a sugar-free option, go with a powdered sweetener.
Vanilla Extract (2 teaspoons, optional): Vanilla adds a rich, slightly sweet aroma that makes whipped cream taste more like a dessert. While not required, it enhances the overall flavor. Pure vanilla extract gives the best results, but vanilla bean paste or vanilla essence are good alternatives.
Equipment:
Whipped Cream Dispenser: This device uses pressure to aerate cream, giving it a light, fluffy texture. They usually come in stainless steel or aluminum, with stainless steel being the sturdier option. You can find dispensers in half-pint (0.25L), pint (0.5L), and quart (1L) sizes, so there’s one for every need.
Nitrous Oxide Whipped Cream Charger (N2O Cartridge): This small gas canister releases N2O (nitrous oxide) into the dispenser, allowing the cream to whip properly. Only N2O (nitrous oxide) chargers work for whipping cream. CO₂ cartridges, which are used for carbonating drinks, won’t create the right texture and should be avoided.
Measuring Cup & Spoon: Accurate measurements help achieve the right balance of sweetness and texture. A liquid measuring cup is best for cream, while a teaspoon and tablespoon set ensures consistency with sugar and flavoring.
Mixing Bowl (Optional): Pre-mixing cream, sugar, and vanilla in a bowl helps prevent clogging inside the dispenser. This is useful when adding thick extracts or flavored syrups.
Whisk or Spoon: A whisk or spoon helps blend the ingredients before adding them to the dispenser, preventing sugar from settling at the bottom.
Strainer (Optional): If using homemade flavoring or unfiltered vanilla, a strainer removes small particles that could block the nozzle.
You will need to adjust the amounts of everything depending on the size of the whipped cream dispenser you are using. This recipe is specifically meant for the 0.5-litre dispenser, so if yours is a different size, you will need to either use less or more of the ingredients.
Tip: Whipped cream turns out better when both the heavy cream and the dispenser have been chilled beforehand, so before you start making it, make sure to pop those two things into the fridge for some time.
The Instructions
Once you have all of your ingredients ready, here’s what you need to do:
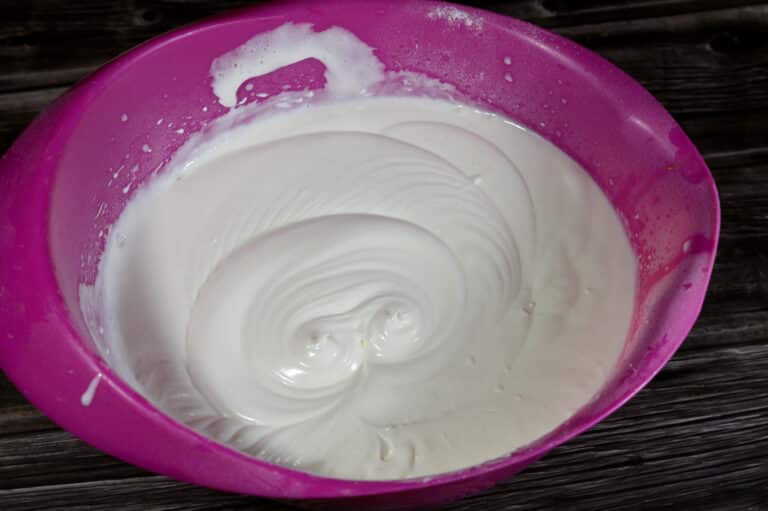
Put the heavy cream, powdered sugar and vanilla extract into a measuring cup and whisk them until they are smooth and sugar has been incorporated into the cream.
Pour your mixture into the whipped cream dispenser and screw the lid on.
Place the nitrous oxide charger into the cartridge carrier and screw it onto your dispenser – you will hear a hissing sound, which indicates that it’s been placed correctly.
Lay your dispenser on its side for about one minute and shake vigorously for about 15 seconds.
And voilà, you’re done! Now, all you have to do is dispense it on your beverages and/or food and enjoy it.
Benefits of a Whipped Cream Dispenser
Consistent Texture and Quality – A whipped cream dispenser aerates the cream evenly, creating a smooth and stable consistency. It minimizes the risk of overbeating while preventing the cream from becoming too runny or grainy.
Time-Saving and Efficient – Traditional whipping methods require time and effort. With a dispenser, fresh whipped cream is ready in seconds, making it a practical tool for both home kitchens and professional settings.
Extended Freshness – Unlike manually whipped cream, which can lose its texture quickly, cream stored in a dispenser remains light and airy for several days when refrigerated.
Customization Options – A dispenser allows you to enhance flavors by adding vanilla extract, sweeteners, or other ingredients to match your preference.
Reduced Waste and Mess – The controlled dispensing mechanism minimizes spills, and since the cream stays fresh longer, less product goes to waste.
Versatile Applications – A whipped cream dispenser isn’t just for whipped cream. It can also be used to make foams, flavored mousses, and infused sauces making them a valuable addition to any kitchen.
Professional Presentation – A dispenser makes it easy to top desserts, beverages, and specialty dishes with a smooth, polished finish, all with minimal effort.
Common Mistakes and Troubleshooting
Even with a whipped cream dispenser, mistakes can happen. Here are some common issues and how to fix them:
1. Runny or Liquid Cream
Possible Causes:
The cream has too little fat.
Not enough shaking before dispensing.
Overfilled dispenser, preventing proper gas distribution.
Solution:
Use heavy cream with at least 32% fat for best results.
Shake the dispenser 3 to 5 times before dispensing.
Fill the dispenser only up to the recommended capacity.
2. Overly Thick or Clumpy Cream
Possible Causes:
Too much shaking, causing over-whipping.
The cream was left in the dispenser for too long.
Using unfiltered flavoring additives that clog the nozzle.
Solution:
Shake only a few times and test; avoid excessive shaking.
Use the cream within a few days for the best texture.
Strain flavoring ingredients before adding them to the dispenser.
3. No Cream Coming Out
Possible Causes:
Clogged nozzle due to solidified cream or sugar.
Incorrect charger installation or gas leakage.
Solution:
Clean the nozzle with warm water and a small cleaning brush.
Check that the charger is correctly inserted and fully released.
4. Gas Leaking from the Dispenser
Possible Causes:
Worn-out or misaligned seals.
Cross-threading when assembling the dispenser head.
Solution:
Inspect the O-ring and gasket, replacing them if damaged.
Screw the head on straight and firmly, avoiding overtightening.
5. Difficulty Opening the Dispenser
Possible Causes:
Gas pressure still trapped inside.
Sticky residue on the threads.
Solution:
Hold the dispenser upright and press the lever to release any remaining gas.
Wipe the threads clean after each use to prevent sticking.
Making Whipped Cream – Useful Tips
Whisking is important. If you skip the whisking step, the powdered sugar might clog up your dispenser’s siphon nozzle.
Leave some space. Don’t fill up your dispenser to the brim – leave some space, as the cream will expand once you add the N20.
Store the cream in the fridge. Once you’re done with making your cream, you should store it in the fridge and use up within three to four days. In case it starts to loosen (which can happen since there are no preservatives, emulsifiers or stabilisers in homemade whipped cream), you can make it firm again by recharging it with another nitrous oxide charger.
The Bottom Line
With that being said, we have reached the end of our guide on how to make homemade whipped cream using a dispenser. As you can see, it’s very easy – there are only a few things you need to enjoy this delicious, fluffy creation and visually elevate your beverages and desserts. And thanks to the fact that it’s widely customisable, you can surprise everyone with a fully yours combination. Good luck!
Frequently Asked Questions
1. Can I use any type of cream for a whipped cream dispenser?
No, not all creams will work well in a dispenser. For the best results, use heavy cream with at least 32% fat content. Lower-fat creams won’t hold their shape properly, leading to runny or unstable whipped cream. Avoid ultra-pasteurized cream, as it may not whip as consistently.
2. How long does homemade whipped cream last?
When stored inside a whipped cream dispenser and refrigerated, homemade whipped cream can stay fresh for up to 10 days. The airtight seal helps maintain its texture, unlike manually whipped cream, which deflates much faster.
3. What gas is in whipped cream?
Whipped cream dispensers use nitrous oxide (N₂O) to aerate the cream, giving it a smooth and fluffy texture. The gas dissolves into the cream under pressure, and when released, it expands to create the perfect whipped consistency.
4. Why is nitrous oxide used in whipped cream?
Nitrous oxide (N2O) is used because it dissolves easily into the cream and helps create a stable, airy texture. Unlike other gases, N2O prevents the cream from oxidizing, keeping it fresh for longer while maintaining the perfect consistency.
5. What should I do if my whipped cream dispenser doesn’t release cream properly?
First, check if the nozzle is clogged by rinsing it with warm water. If the issue persists, make sure the N2O charger is installed correctly and that the dispenser is not overfilled. If gas is leaking, inspect the O-ring and seals for damage and replace them if necessary.
As the driving force behind Nang Wizard, I'm proud to lead Melbourne's fastest instant delivery company. With a team of 5 dedicated drivers strategically positioned across the city, we guarantee under one-hour delivery times. Our unwavering commitment to trustworthiness and customer satisfaction has earned us a 5.0-star Google Maps rating, and we're known for offering 100% refunds if a customer's delivery isn't on track within 15 minutes. With over 20,000 orders completed, we've become Melbourne's most trusted Kitchen Supply Store, ensuring our customers always come first. Join us and experience the magic of Nang Wizard.