

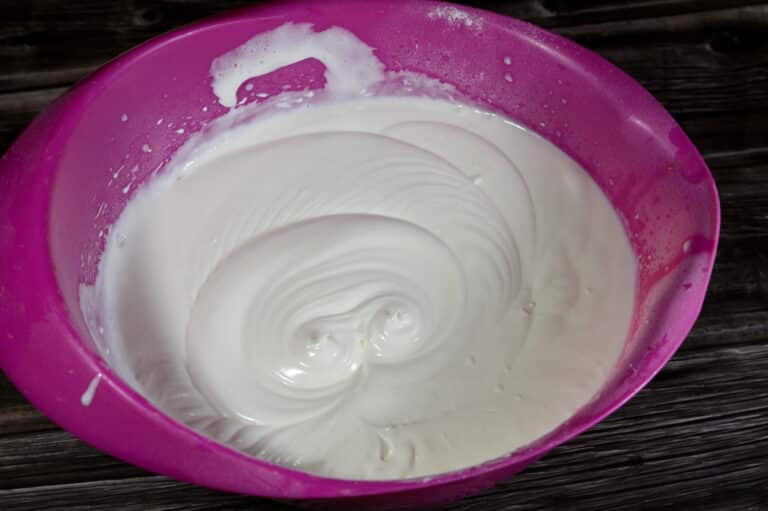




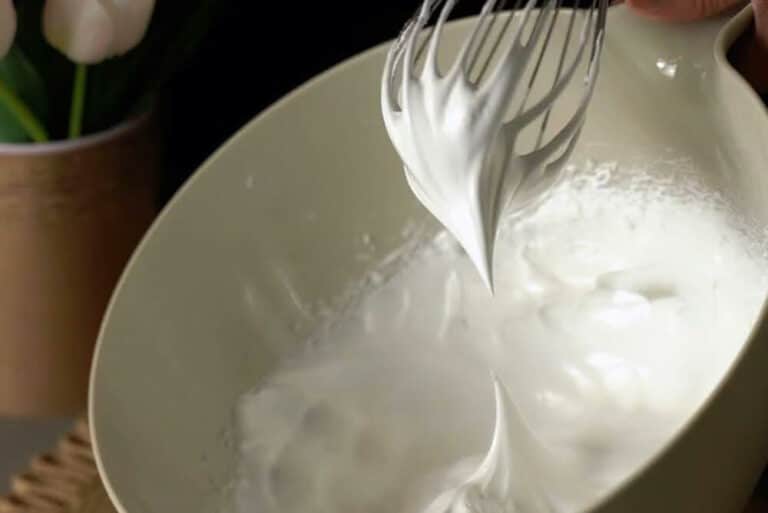


You don’t need an expensive ice cream machine to make a creamy frozen dessert at home. With thickened cream, sweetened condensed milk and vanilla, you can prepare homemade ice cream using just a few ingredients.
A cream whipper makes the process easier by preparing the whipped cream that gets folded into the sweetened base. There’s no need for electric beaters, and you can experiment with different flavours once you’ve mastered the basic recipe.
One thing to remember: no-churn ice cream isn’t instant ice cream. The whipper aerates the cream, but the finished mixture still needs several hours in the freezer. You can make ice cream without an ice cream maker, but you can’t skip the freezing time.
Table of Contents
What Is No-Churn Ice Cream?
No-churn ice cream is made without a traditional ice cream machine. Instead of churning the mixture during freezing, you fold whipped cream into a sweetened base to incorporate air.
Sweetened condensed milk helps create a smooth texture because its concentrated sugar and milk solids reduce the formation of large ice crystals. The whipped cream makes the mixture lighter and easier to scoop.
Unlike custard-based ice cream, this method doesn’t require cooking or repeated stirring during freezing.
Easy No-Churn Ice Cream Recipe
This simple condensed milk ice cream uses just three ingredients and makes approximately eight servings. The finished quantity depends on how much air is incorporated into the cream.
Preparation time: 15 minutes
Freezing time: At least 6 hours, preferably overnight
Servings: Approximately 8
Ingredients
- 600 ml cold thickened cream, suitable for whipping
- 395 g sweetened condensed milk
- 2 teaspoons vanilla extract
Equipment
You’ll need a cream whipper with a compatible food-grade cream charger, a mixing bowl, a silicone spatula and a freezer-safe container with a lid.
A half-litre dispenser, such as Nang Wizard’s Supreme 0.5L Premium Cream Whipper, can be used for this recipe, but you’ll need to prepare the 600 ml of cream in separate batches.
Always check your whipper’s capacity and maximum fill line before starting.
How to Make Ice Cream Without a Machine
This ice cream recipe needs no machine for churning. The cream whipper handles the aeration, while your freezer does the rest.

Step 1: Prepare the Base
Pour the sweetened condensed milk into a large bowl and stir in the vanilla extract. Mix until smooth so it’s easier to combine with the cream.
Step 2: Whip the Cream
Fill your clean cream whipper with cold thickened cream, staying below the manufacturer’s maximum fill line.
Secure the head, charge with a compatible food-grade cream charger and shake according to the manufacturer’s instructions.
Dispense the whipped cream into a separate bowl. Repeat if necessary to prepare the full 600 ml.
Step 3: Fold Everything Together
Add one-third of the whipped cream to the condensed milk and fold gently using a spatula.
Add the remaining cream in two portions, lifting the mixture from the bottom of the bowl rather than stirring vigorously.
Stop once everything is combined. Excessive mixing removes air and can make the finished ice cream denser.
Step 4: Cover and Freeze
Transfer the mixture to a freezer-safe container and smooth the surface.
Press baking paper or food-safe wrap directly against the mixture before securing the lid. This limits air exposure and helps prevent ice crystals.
Freeze for at least six hours, preferably overnight, until firm.
Why Use a Cream Whipper?
Most no-churn recipes rely on an electric mixer to whip the cream. A cream whipper offers a quick alternative, dispensing aerated cream directly into your bowl.
When used correctly, it produces whipped cream without requiring you to watch for soft peaks. This reduces the risk of accidentally over-beating the cream during preparation.
The cream should still be thoroughly chilled, and gentle folding remains important. Dispensed cream may be softer than cream whipped with a mixer, so work carefully to preserve the air.
A whipper handles the aeration, not the freezing, so you’ll still need to allow enough freezer time.
Four No-Churn Ice Cream Flavours to Try

The vanilla base is easy to customise. These four variations add flavour without changing the basic preparation method.
1. Chocolate Ice Cream
Mix three tablespoons of unsweetened cocoa powder with a little condensed milk to form a smooth paste.
Stir the paste into the remaining condensed milk before folding in the whipped cream. This prevents dry cocoa lumps.
For extra texture, add a handful of finely chopped chocolate before freezing.
2. Strawberry Ice Cream
Blend approximately 150 g of fresh strawberries into a purée. Simmer gently until reduced and thickened, then cool completely.
Stir the cooled purée into the condensed milk before folding in the cream. Reducing the fruit removes excess moisture that could otherwise make the ice cream icy.
You can also swirl a little strawberry sauce through the mixture before freezing.
3. Salted Caramel Ice Cream
Add three tablespoons of thick salted caramel sauce to the condensed milk and stir until combined.
Fold in the whipped cream, then drizzle another tablespoon of caramel over the mixture. Swirl gently with a knife before freezing.
Avoid adding too much sauce, as excess sugar can prevent the ice cream from setting firmly.
For an extra-indulgent sundae, you could also top the finished ice cream with our homemade salted caramel whipped cream.
4. Coffee Ice Cream
Dissolve two teaspoons of instant coffee in one tablespoon of hot water. Allow it to cool completely before stirring it into the condensed milk.
Fold in the whipped cream and freeze as usual. For a stronger coffee flavour, add a little more instant coffee without increasing the water.
Two-Ingredient vs Three-Ingredient Ice Cream
One of the biggest advantages of homemade ice cream without a machine is how few ingredients you need.
2-Ingredient Ice Cream
The simplest version contains:
- 600 ml thickened cream
- 395 g sweetened condensed milk
Whip the cream using your cream whipper, fold it into the condensed milk and freeze for at least six hours.
This creates a sweet, creamy base that works well with fruit, sauces and other toppings.
3-Ingredient Ice Cream
Add two teaspoons of vanilla extract to the two-ingredient recipe.
Vanilla balances the sweetness of the condensed milk and creates a more traditional ice cream flavour.
Both versions use the same preparation and freezing method.
You can also use the finished vanilla ice cream to make other desserts and drinks. For example, our Australian spider drink recipe combines ice cream with a chilled soft drink and a fresh whipped cream topping.
Tips for Smooth Homemade Ice Cream
A few small adjustments can make a noticeable difference to the finished texture.
Keep the Ingredients Cold
Thoroughly chilled cream aerates more reliably. Keep it refrigerated until you’re ready to fill the whipper.
You can also chill the condensed milk, provided it remains easy to stir.
The type of cream you choose is important, too. Australian thickened cream containing around 35% milk fat is a reliable option. Our guide to the best cream for whipping explains how different varieties perform.
Fold the Mixture Gently
Avoid vigorous stirring after adding the whipped cream. Slow folding preserves the incorporated air and helps produce a lighter texture.
Limit Extra Liquid
Watery fruit purées, juice and thin sauces can form ice crystals during freezing.
Reduce fruit purées where necessary and use concentrated flavourings rather than adding large amounts of liquid.
Cover the Surface
Press baking paper or food-safe wrap against the mixture before closing the container. This reduces exposure to air and helps prevent freezer burn.
Choose a Shallow Container
A shallow, freezer-safe container allows the mixture to freeze more evenly. Make sure the lid fits securely to prevent unwanted freezer odours.
How to Scoop and Store No-Churn Ice Cream
Homemade no-churn ice cream may freeze more firmly than commercial varieties, especially after several days.
If it’s difficult to scoop, leave the container at room temperature for approximately 5–10 minutes, depending on the temperature of your kitchen. A scoop warmed briefly in water can also help.
Return unused ice cream to the freezer promptly. Repeated melting and refreezing can affect its texture and food safety.
Store the ice cream in a sealed container at approximately -18°C. For the best flavour and texture, aim to enjoy it within two to four weeks, depending on the ingredients and handling.
Homemade Ice Cream, Your Way
Making ice cream at home doesn’t have to involve complicated equipment. With thickened cream, sweetened condensed milk and a little patience, you can prepare a creamy frozen dessert that’s easy to customise.
Start with the basic vanilla recipe, then try chocolate, fresh strawberries, salted caramel or coffee. You can even leave the vanilla out altogether for a simple two-ingredient version.
Want to make the next batch with a cream whipper? Our cream whippers and dispensers include options for home dessert preparation. Choose a size that suits the amount you’re making, and remember that smaller dispensers may need several batches.
Once the mixture is in the freezer, the hard work is done. All that’s left is deciding which flavour to try first.
Frequently Asked Questions
1. Can a Cream Whipper Make Instant Ice Cream?
No. The whipper aerates the cream but doesn’t freeze the mixture. You’ll still need at least six hours of freezer time.
2. Can I Use Light Cream?
Light cream generally lacks enough fat to whip properly. Australian thickened cream containing around 35% milk fat is a more reliable choice.
3. Why Is My Ice Cream Icy?
Excess moisture, insufficient aeration or poor storage can cause ice crystals. Use cold ingredients, avoid watery additions and cover the mixture before freezing.
4. Can I Make It Without Vanilla?
Yes. The two-ingredient recipe uses only thickened cream and sweetened condensed milk.
5. Can I Make This Ice Cream Without a Cream Whipper?
Yes. Use an electric hand mixer or stand mixer to whip the cold cream until it forms soft to medium peaks, then gently fold it into the condensed milk.
The recipe still doesn’t require an ice cream maker. You’ll prepare the mixture in the same way and freeze it until firm.
Rate this post

Nang Wizard
As the driving force behind Nang Wizard, I'm proud to lead Melbourne's fastest instant delivery company. With a team of 5 dedicated drivers strategically positioned across the city, we guarantee under one-hour delivery times. Our unwavering commitment to trustworthiness and customer satisfaction has earned us a 5.0-star Google Maps rating, and we're known for offering 100% refunds if a customer's delivery isn't on track within 15 minutes. With over 20,000 orders completed, we've become Melbourne's most trusted Kitchen Supply Store, ensuring our customers always come first. Join us and experience the magic of Nang Wizard.
Other Articles
Shopping cart0
There are no products in the cart!
Continue shopping