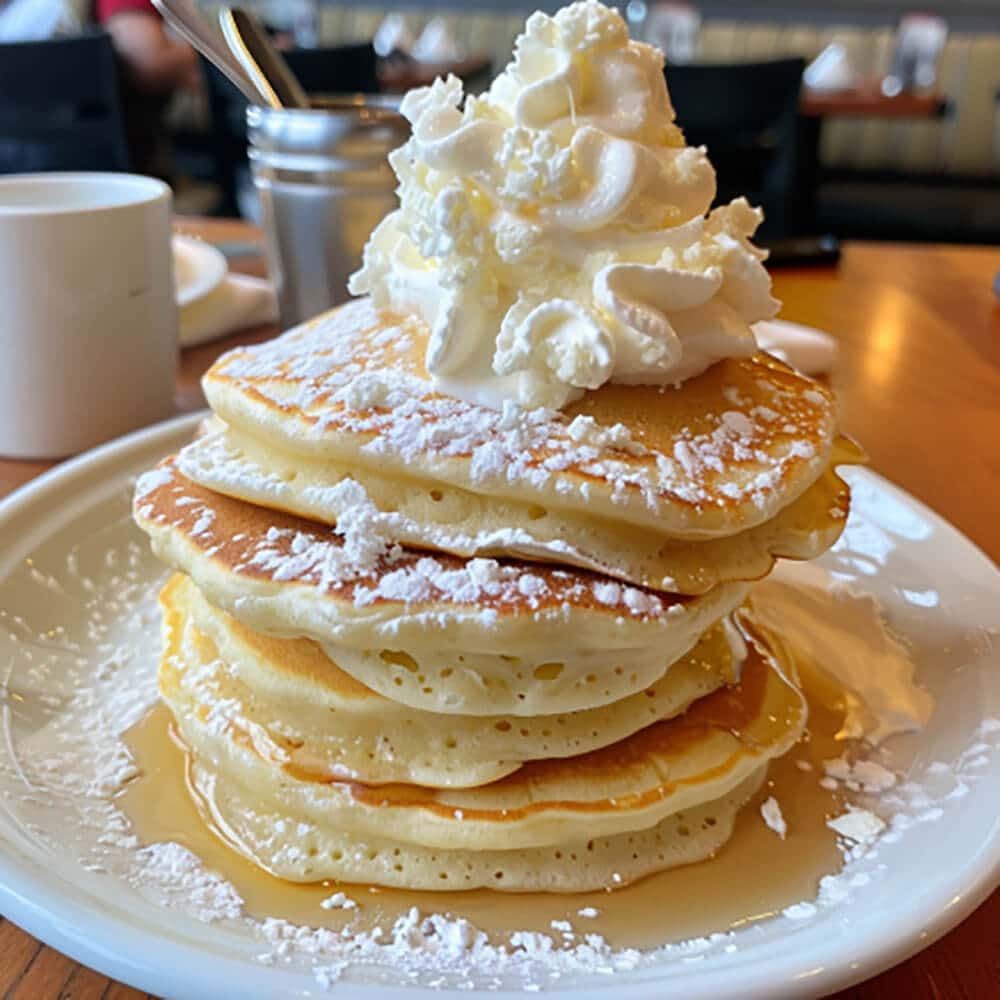
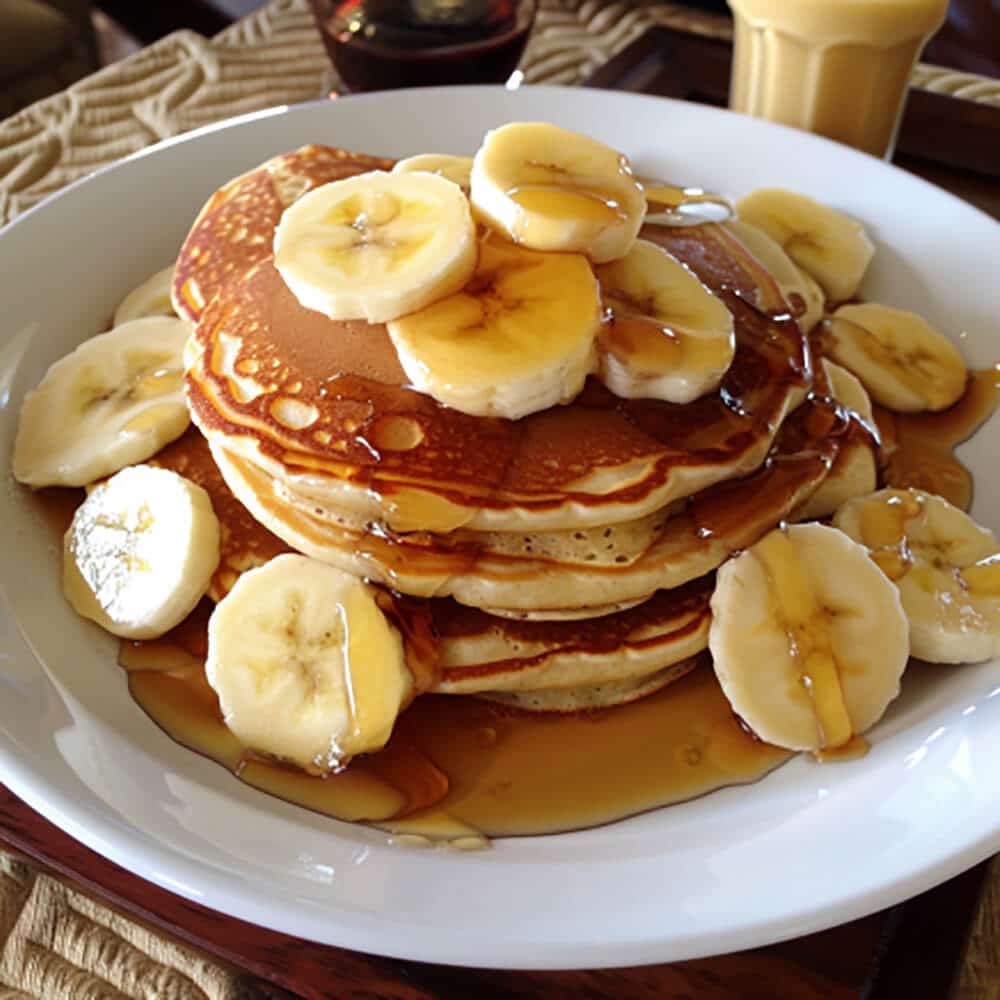
In this article, we’d like to do a big shout-out to Alton Brown: if there is anyone who’d inspire us with an actual nitrous pancake recipe, it’s him – the original food scientist and creative.
Like us, he loves “multitaskers” – kitchen tools that don’t have only one use. Because what’s the use of having complicated kitchen equipment if you only use it for that one thing?
Whipping cream dispensers and nangs are unbelievable multitaskers. We try to prove that with all of our creative recipes (and so much more than recipes, too!)
According to Alton’s recipe, the total time for making these 6 large nitrous pancakes is 12 minutes. It took us about 20 minutes to get the hang of it, but once we did, it was completely worth it, and we know that it will go much faster next time.
(We did have to use a spare dispenser to actually make whipped cream for the pancake topping! Get stocked up.)
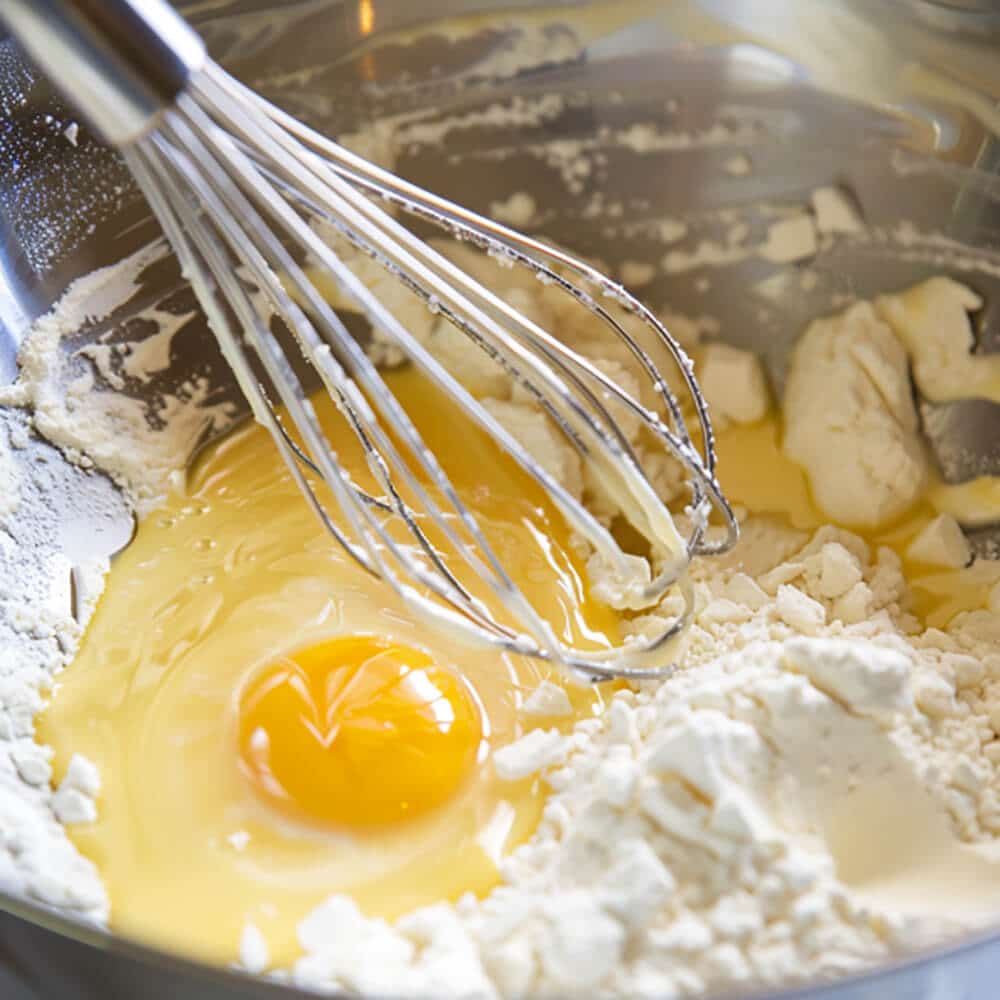
First, here is the basic buttermilk pancake recipe that we used for our nitrous pancakes:
1.2 cups all-purpose flour (or 250ml)
2/3 cup buttermilk (round down from 0.88 cups)
2 large eggs
4 tablespoons + 1 teaspoon sugar (or 4.25 tablespoons)
1 tablespoon vanilla extract
3/4 teaspoon salt
1 tablespoon unsalted or clarified butter
What are you going to need?
In order of appearance, we’re going to need:
A large bowl
A whisk
Whipped cream dispenser
One nitrous-oxide charger, or nang
One large nonstick pan
A spatula
A plate

A big appetite
After you have gathered all that you need, it’s time to get started. Don’t worry – this isn’t a common way to make pancakes – it’s not very well known, and even if you’re an experienced cook, you might get a bit nervous when combining a charged whipping cream dispenser with heavy buttermilk pancake batter.
After you breathe deeply and commit to this method, it’s time to get started. Prepare your tools and ingredients and get ready for some experimenting! Here is what you need to do:

Tips:
It’s fun to experiment with new recipes. We found that this method aerates the pancakes very well, and they are significantly more fluffy than just “regular” pancakes.
It’s a fun new skill to try, especially if you’re not a fan of baking soda or baking powder flavours or if you have never been able to get your pancakes as light as in a restaurant.
Alert: Yes, please note that this recipe doesn’t include baking powder or baking soda. This will alter the flavour of the pancakes, and you might find that you actually enjoy these much more than your “regular normal” pancakes.
We hope that you are ready to use our favourite multi-tasker to try this fabulous pancake recipe! With a little science and a fun kitchen gadget, you’ll be whipping up fluffy perfection in no time!
https://www.shopgalaxygas.com/blogs/recipes/buttermilk-pancakes

As the driving force behind Nang Wizard, I'm proud to lead Melbourne's fastest instant delivery company. With a team of 5 dedicated drivers strategically positioned across the city, we guarantee under one-hour delivery times. Our unwavering commitment to trustworthiness and customer satisfaction has earned us a 5.0-star Google Maps rating, and we're known for offering 100% refunds if a customer's delivery isn't on track within 15 minutes. With over 20,000 orders completed, we've become Melbourne's most trusted Kitchen Supply Store, ensuring our customers always come first. Join us and experience the magic of Nang Wizard.

